If you're new to virtual tours and wondering how to create professional 360-degree experiences using just your phone, you're in the right place. This complete beginner's guide breaks down everything you need to know about creating virtual tours from your phone – no technical expertise or expensive equipment required. By the end of this guide, you'll be ready to create your first immersive virtual tour.
What Are 360 Virtual Tours from Phone?
A 360 virtual tour created from your phone is an immersive, interactive experience that allows viewers to explore a space as if they were physically there. Using AI technology, your smartphone captures multiple photos that are automatically stitched together into seamless panoramic scenes.
Key Characteristics
These virtual tours offer a 360-degree view that allows viewers to look in any direction, including up, down, and all around. The interactive navigation enables seamless movement between rooms and different areas of the space. What makes this technology particularly accessible is that no special camera is needed – your smartphone is the only equipment required to get started. The entire process leverages AI-powered processing that handles all the complex technical work automatically in the background. Finally, the tours are web-based viewing experiences, meaning they work perfectly on any device with a browser, from desktop computers to smartphones and tablets.
Why Create Virtual Tours from Your Phone?
Accessibility
The biggest advantage is that you can start immediately. There's no need to purchase expensive 360 cameras that can cost anywhere from $300 to $5,000. You don't have to spend months learning complex photography techniques or hire professional photographers who typically charge $200 to $500 per session. You won't need to invest in specialized software or monthly subscriptions either. Perhaps best of all, you won't have to wait for equipment delivery or coordinate with photographer availability – you can start creating virtual tours right now with the device already in your pocket.
Convenience
Your phone is always with you, which provides incredible convenience for virtual tour creation. This enables spontaneous tour creation whenever opportunities arise, without having to go home and get special equipment. You can make quick updates whenever spaces change or need refreshing. If something isn't quite right, easy retakes are just a tap away without any complicated setup. Once you're done creating your tour, you can immediately share it with clients, colleagues, or the world without any waiting period.
Quality
Modern smartphone cameras are incredibly powerful and rival many dedicated cameras. Current phones feature 12 to 108 megapixel sensors that capture stunning detail. They leverage advanced computational photography that processes images in ways traditional cameras cannot. The excellent low-light performance means you can capture quality tours even in challenging lighting conditions. With 4K+ video and photo capabilities, your tours will look crisp and professional on any display. All of this is enhanced by AI-enhanced image processing that automatically optimizes every shot for the best possible results.
What You Need to Get Started
Essential Requirements
A Smartphone: You'll need either an iPhone 11 or newer (recommended), or an Android phone with a 12MP or better camera. Make sure you have at least 2GB of free storage space available for the app and your tour files. Your phone should be running iOS 14 or newer, or Android 10 or newer to ensure compatibility with modern virtual tour apps.
Virtual Tour App: Travvir is recommended for its AI features and is free to download from your app store. When you sign up, you'll receive $100 in welcome credits to get started, and no credit card is required to begin creating your first tours.
Internet Connection: You'll need WiFi or mobile data for uploading your photos and processing them into virtual tours. A stable connection is recommended for the best experience, especially when uploading multiple high-resolution images.
Optional but Helpful
While not required, a few additional items can improve your virtual tour creation experience. A smartphone tripod costing just $10 to $30 can provide improved stability for your shots, resulting in sharper images. An external battery is useful because extended shooting sessions can drain your phone's battery quickly. Keep a microfiber cloth handy to keep your camera lens clean throughout your shoot. Finally, a simple notebook can help you plan your tour route and shots before you start capturing.
Your First Virtual Tour: Step-by-Step
Phase 1: Preparation (15 minutes)
Download and Install: Begin by getting Travvir from the App Store or Google Play Store. Create your account, grant the necessary permissions for camera and location access, and watch the quick tutorial that will familiarize you with the app's interface.
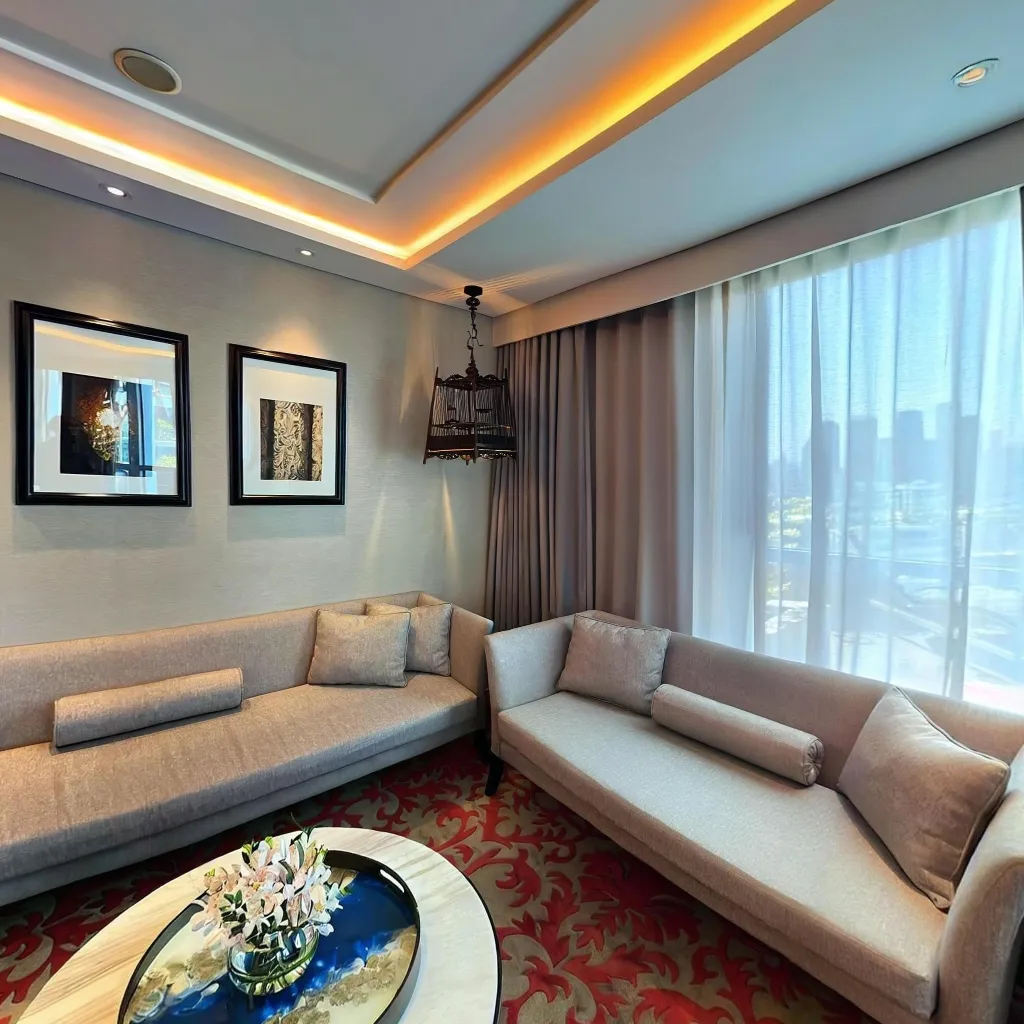
Choose Your Space: For your first tour, start with a single room for practice. Pick a well-lit area that's already tidy and presentable to make your job easier.
Prepare the Space: Remove any clutter and personal items that might distract from the space itself. Turn on all the lights in the room, open curtains to let in natural light, and arrange furniture attractively to showcase the space at its best.
Phase 2: Capture (3-5 minutes per room)
Open the App: Tap "New Place" to begin a new project. Name your project something descriptive so you can easily find it later.
Position Yourself: Stand in the center of the room for the best perspective. Hold your phone at chest or eye level for consistency across all scenes. Make sure you have 360-degree clearance around you with no obstructions.
Follow the Guides: The app will show you where to point your camera for complete coverage. Capture photos in all directions as indicated by the on-screen guides.
Phase 3: Processing
While the AI works its magic, it will analyze all the images you captured and stitch them together seamlessly. The system automatically corrects lighting and colors to ensure consistency throughout your tour. It enhances image quality using advanced algorithms and creates the final 360-degree panorama. The best part is that you can start capturing another room while this processing happens in the background, maximizing your productivity.
Phase 4: Enhancement
Add Navigation: Place hotspots strategically to connect different rooms in your tour. Create a logical flow through the space that mimics how someone would naturally walk through it. Label each hotspot clearly so viewers know where they're going.
Include Information: Add scene titles and descriptions to provide context for each area. Highlight special features that you want viewers to notice and include relevant details that add value to the viewing experience.
Apply Branding: Upload your logo to maintain brand consistency. Add your contact information so interested viewers can reach you easily. Include call-to-action buttons that guide viewers toward your desired outcome, whether that's scheduling a showing, making a reservation, or contacting you for more information.
Phase 5: Publish and Share
Take a moment to preview your complete tour and make any final adjustments needed. Once you're happy with everything. copy the shareable link that's generated so you can send it to clients or prospects. If you have a website, you can embed the tour directly on your pages for seamless integration. Share your tour on social media platforms to reach a wider audience and showcase your work.
Beginner Tips for Better Results
Lighting Tips
Shoot during daytime whenever possible, as natural light is your best friend for creating beautiful virtual tours. Even during the day, turn on all lights in the space because interior lights help balance the lighting and prevent dark corners. If direct sunlight is creating harsh shadows or blown-out windows, avoid harsh shadows by closing blinds partially. Maintain consistent lighting throughout your capture by keeping all light sources the same for the duration of your shoot.
Camera Techniques
Keep your phone steady by using both hands firmly or placing it on a tripod for the best results. Move slowly and deliberately when rotating between shots, as smooth movements prevent blur and ensure sharp images. Overlap generously between shots because more overlap means better stitching and fewer visible seams in the final tour. Always maintain level by keeping your phone horizontal throughout the capture process for the best and most natural-looking results.
Composition Guidelines
Declutter first because clean, organized spaces photograph much better and look more professional in virtual tours. Show space by positioning yourself away from walls rather than standing too close, which can make rooms feel cramped. Hide yourself when possible by standing behind furniture or in areas that won't be visible in the final panorama. Highlight features by positioning yourself strategically to show the best angles of key selling points in the space.
Common Beginner Mistakes to Avoid
Many beginners fall into the trap of rushing the process, but taking your time is essential for quality results that you'll be proud to share. Poor preparation is another common issue – remember that messy or cluttered spaces look even worse in 360-degree views where everything is visible. Inadequate lighting can make even beautiful spaces look dingy and uninviting, which actively discourages viewers from exploring further. Using inconsistent positioning by varying the height of your phone between scenes creates a jarring, unprofessional viewing experience. Adding too many hotspots clutters the interface and confuses viewers rather than helping them navigate. Forgetting mobile viewers is a critical oversight since many people will view your tour on smartphones, not just desktop computers – always test on both. Finally, no testing before sharing publicly can lead to embarrassing mistakes that damage your professional reputation, so always preview thoroughly before making your tour live.
Your First Tour Checklist
Use this checklist for your first virtual tour:
Before You Start
Make sure your app is downloaded and your account is created so you're ready to begin immediately. Ensure your phone is fully charged to avoid running out of battery mid-shoot. The space should be cleaned and prepared, with all clutter removed and furniture arranged attractively. Turn on all lights in the area to ensure proper illumination. Finally, plan your route through the space beforehand so you can work efficiently and capture everything you need without missing important areas.
During Capture
Keep your phone held steady at a consistent height throughout all captures to ensure a uniform viewing experience. Capture complete 360-degree coverage in each room, making sure you've photographed in all directions. Watch for green indicators that show you have full coverage of the area, and pay attention to any red areas that need more attention. Always review your images before moving on to the next room to catch any issues while you're still on location. Continue this process until all planned rooms have been captured according to your pre-planned route.
After Processing
Verify that all scenes have been stitched together successfully with no visible errors or gaps. Add navigation hotspots between scenes to create a logical flow through your tour. Include descriptions and labels for each area to provide context and highlight important features. Apply your branding elements including your logo and contact information for professional presentation. Preview the tour on desktop to check the overall experience and ensure everything works correctly. Test the tour on a mobile device as well, since many viewers will access it from their phones. Once you're satisfied with everything, publish the tour and copy the shareable link to distribute to your audience.
Next Steps After Your First Tour
Once you've completed your first virtual tour, the learning journey continues. Share your tour with friends or colleagues and ask them to provide honest feedback about what works well and what could be improved. Take time to analyze the performance data and analytics to see how viewers interact with your tour and which areas attract the most attention. Keep practicing by creating more tours, as each one will improve your skills and help you develop your own efficient workflow. Start exploring advanced features like information hotspots and embedded media to make your tours more interactive and engaging. Experiment with different types of spaces and various lighting conditions to expand your capabilities and comfort zone. Finally, consider joining online communities where you can connect with other virtual tour creators, share experiences, and learn from their successes and challenges.
Conclusion
Creating 360 virtual tours from your phone is more accessible than ever, thanks to AI technology. As a beginner, focus on mastering the basics: good preparation, proper lighting, steady capture, and clear navigation. Don't worry about perfection – each tour you create will improve your skills.
The best way to learn is by doing. Download the Travvir app, follow this guide, and create your first tour today. With $100 in welcome credits and no credit card required, there's no risk in getting started. Your journey into virtual tour creation begins with a single room and a smartphone – everything you need is already in your pocket.
Download Travvir & Start Creating