Interior photography for 360° virtual tours has different requirements from standard property photography. The goal isn't a perfectly composed flat image — it's a seamless spherical panorama that accurately represents the space from a single viewpoint. Master these techniques and your virtual tours will consistently look professional.
Lighting Setup for Interior 360 Photography
Natural Light — Your Best Friend
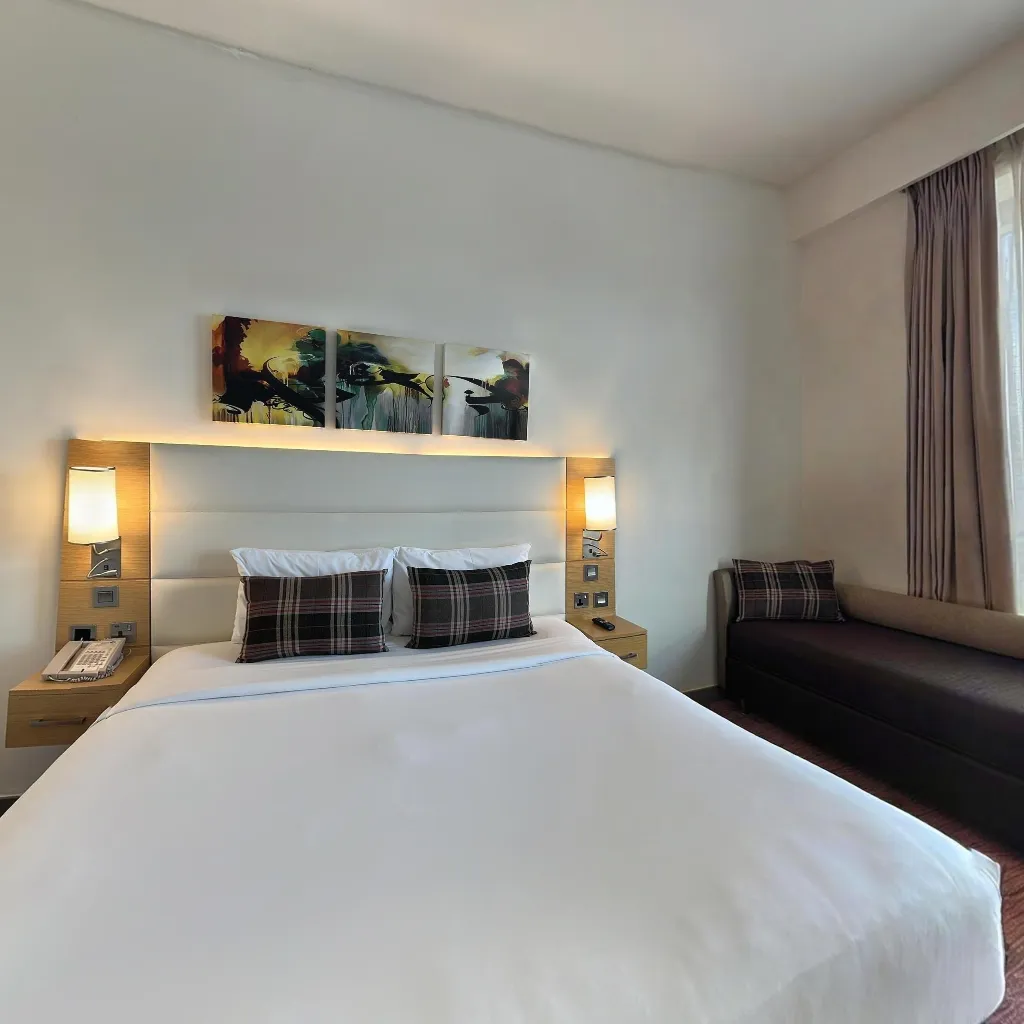
Shoot during the brightest part of the day relative to each room's window orientation. Open all curtains and blinds fully. Natural light produces the most realistic representation of how a space actually feels. Avoid shooting directly into unshaded windows — if the exterior is blowing out, use a diffusion film or shoot when the sun is not directly aligned with the window.
Artificial Lighting
Turn on all ceiling lights, floor lamps, and under-cabinet lighting. Mixed light temperatures (warm vs cool) can create colour cast problems — where possible, standardise bulb temperatures throughout the property (all warm or all daylight). LED panels or bounce lights placed in corners help fill shadow areas without being visible in the panorama.
Camera Positioning for Interior 360 Photography
Central Position
Stand or position your camera at the geometric centre of the room. This maximises visible floor space and ensures equal coverage in all directions. Off-centre positioning makes one wall dominate the panorama, reducing the sense of space.
Height
Capture at 1.2–1.5m height for residential interiors. For commercial spaces with high ceilings, 1.5–1.7m works better to balance the vertical perspective. Avoid capturing at floor level (makes everything look oversized) or above 1.8m (makes spaces feel institutional).
Clear Shot Lines
Ensure no large furniture, doors, or objects block key sightlines. The objective is to show as much of the room as possible from the capture point. If a major feature (fireplace, kitchen island) is obscured from the central position, take a supplementary panorama from a position that shows it clearly.
Post-Processing Tips for 360 Interior Photos
After capture and AI stitching: check for stitching seams at high-contrast areas (windows, light fittings) and smooth them manually if needed. Adjust global exposure slightly brighter than you think necessary — 360° viewers tend to perceive tours as slightly darker than flat photos. Ensure the horizon line is perfectly level — any tilt is immediately noticeable in a 360 viewer.
Continue Reading
Related Articles
How to Shoot Professional 360 Photos with Your Phone
How to Take 360 Photos on Your Smartphone (Step-by-Step Guide)
The Ultimate Guide to Creating Real Estate Virtual Tours with a Smartphone (2026)
Download Travvir & Start Creating