How to make a virtual tour with iPhone: use the free Travvir iOS app and your built-in camera — no LiDAR, no special gear, no paid software required. With the right technique, you can create a fully navigable, professional-quality 360° virtual tour in under 10 minutes, entirely from your iPhone.
This guide walks you through every step: downloading the free app, capturing each room, linking spaces with hotspots, and publishing a shareable tour link you can send to clients, guests, or post on your website.
Why Your iPhone Is Perfect for Virtual Tours
Apple's Computational Photography Advantage
iPhones from the iPhone 12 Pro onward include hardware that directly benefits virtual tour photography. The LiDAR scanner on Pro models measures precise distances to objects, which helps stitching algorithms align photos with millimeter accuracy. The Photonic Engine on iPhone 14 and newer dramatically improves low-light capture, which matters in interior rooms where mixing natural and artificial light is unavoidable. The 48MP Fusion camera on iPhone 15 Pro and newer produces source images with more detail than most dedicated 360 cameras in the same price range.
Even older iPhones perform well. iPhone 12 and iPhone 13 produce virtual tours that are completely suitable for real estate listings, Airbnb profiles, Google Business pages, and commercial property marketing.
iOS App Quality Standards
Apple's strict App Store review process means iOS apps tend to have fewer crashes and more polished interfaces. For virtual tour creation, this translates directly into more reliable capture sessions and consistent stitching results, session after session.
What You Need Before You Start
Step 1 — Download the Travvir App
Download Travvir from the App Store — it's free to install and includes a generous free tier so you can create your first virtual tours without entering a credit card. The app works on iPhone 11 and newer running iOS 15.0 or later. Once installed, create a free account using your email or sign in with Apple ID.
When you sign up, you receive $50 in welcome credits to start creating tours immediately. This is enough to create multiple complete tours and get a feel for the full workflow before committing to a paid plan.
Optional: A Simple Tripod
While Travvir's AI can handle handheld captures, a basic smartphone tripod (€15–30) makes a noticeable difference in stitching quality. Look for one that holds your iPhone at eye level (approximately 1.5–1.7 m) and rotates smoothly around its vertical axis. This is especially useful in darker rooms where longer exposures make handshake blur more visible.
Prepare the Space
A small amount of preparation before you open the app pays dividends in the final result. Turn on every light in the room to achieve even illumination. Remove obvious clutter — shoes, bags, loose cables — from the floor and visible surfaces. If there are mirrors opposite windows, consider adjusting blinds to prevent blown-out reflections. Finally, ensure pets and people are out of the room for the duration of the capture.
Step-by-Step Guide to Creating Your 360 Virtual Tour
Step 1: Download and Set Up the Travvir App
Start by downloading the Travvir app from your device's app store. The app is free to download and comes with $50 in welcome credits, giving you plenty of opportunity to create your first virtual tours.
Begin by downloading Travvir from the App Store or Google Play. Next, create your free account using email or social login. Then complete the brief onboarding tutorial to familiarize yourself with the interface. Finally, grant the necessary camera and location permissions so the app can function properly.
Step 2: Prepare Your Space
Proper preparation makes a significant difference in your final result:
Start by cleaning and decluttering the area you want to capture, removing any unnecessary items that might distract from the space. Turn on all lights for optimal brightness, ensuring every corner is well-lit. Open curtains to let in natural light, which creates a more inviting atmosphere. Make sure to hide personal items or sensitive information that shouldn't be visible in the tour. Finally, arrange furniture to highlight the space's best features, creating the most appealing visual flow.
Step 3: Position Yourself Correctly
Your position when capturing matters for the best results:
Stand in the center of the room for balanced coverage, which ensures all walls and features are equally represented. Hold your phone at chest height, approximately the natural eye level for most viewers. Avoid standing near mirrors or reflective surfaces where you might appear in the final panorama. Make sure you have 360-degree clearance around you, with no obstructions that could interfere with the capture process.
Step 4: Capture Your 360 Photos
The Travvir app guides you through the capture process with real-time visual cues:
Open the Travvir app and tap "Create New Place" to begin your project. Name your project to keep your tours organized. Tap "Add 360" to start the photo capture process. Follow the on-screen guides to capture photos in all directions, rotating smoothly as prompted. The AI will automatically detect when you've captured enough coverage of the space. Once complete then start the upload process.
Step 5: Let AI Work Its Magic
Once you've captured all angles, Travvir's AI takes over:
The AI stitches your photos into a seamless 360-degree panorama, blending each image perfectly. It automatically corrects lighting and exposure differences between shots, ensuring consistent brightness throughout. The system removes visible artifacts and stitching lines that might otherwise be noticeable. It enhances image quality and sharpness using advanced algorithms. The entire processing typically takes some time per scene, but the result is a professional-quality virtual tour that looks like it was created with high-end equipment.
Step 6: Add Multiple Rooms and Create Navigation
A complete virtual tour includes multiple connected scenes:
Repeat the capture process for each room or area you want to include in your tour. Use the app to add navigation hotspots between scenes, creating clickable links that allow viewers to move from one space to another. Create a logical flow through your space that mirrors how someone would naturally walk through it. Add labels and descriptions to help viewers navigate and understand what they're seeing in each scene.
Step 7: Enhance with Information and Branding
Make your virtual tour more informative and professional:
Add text descriptions to each scene that provide context and highlight key features. Include your logo and branding elements to maintain consistent professional identity throughout the tour. Add information hotspots to highlight special features or details that viewers should notice. Include contact information and call-to-action buttons that make it easy for interested viewers to reach out or take next steps. You can even embed videos or images for additional context that enhances the immersive experience.
Step 8: Publish and Share
Once you're satisfied with your virtual tour:
Get a shareable link for your tour that you can distribute anywhere. Embed the tour on your website using the provided code, making it a central part of your online presence. Share on social media platforms to maximize reach and engagement. Track views and engagement through the analytics dashboard, giving you valuable insights into how people interact with your tour.
Pro Tips for Better Results
Shoot during golden hour – early morning or late afternoon light creates warmth and adds a professional quality to your captures. Use a tripod even if it's just an iPhone tripod, as it dramatically improves stability and reduces blur. Capture at eye level to create the most natural viewing experience that feels authentic to visitors. Avoid movement by keeping as still as possible during capture to prevent distortion and blurring. Shoot in landscape mode which provides a wider field of view and better coverage of the space. Finally, test different times throughout the day, as lighting changes can dramatically affect the mood and quality of your virtual tour.
Common Mistakes to Avoid
One of the most common errors is rushing the capture process – take your time for best results as patience pays off in quality. Avoid shooting in poor lighting, remembering that natural light is your friend and essential for appealing images. Don't stand too close to walls; center positioning is key to capturing the full space effectively. Many people forget to check their surroundings and remove unwanted items before shooting, so always do a final sweep. Finally, never skip testing the tour before sharing – always preview first to catch any issues before your audience sees them.
Optimizing Tours for Different Use Cases
Real Estate Listings
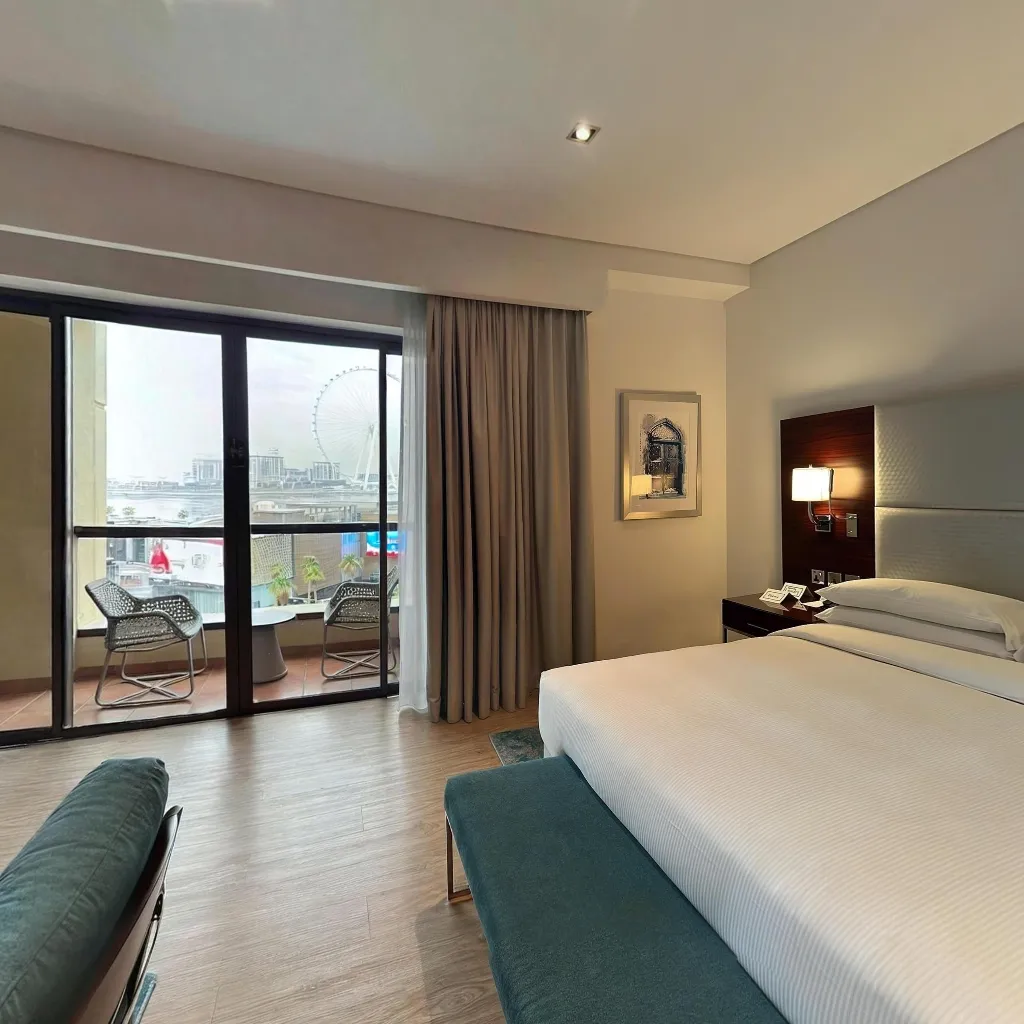
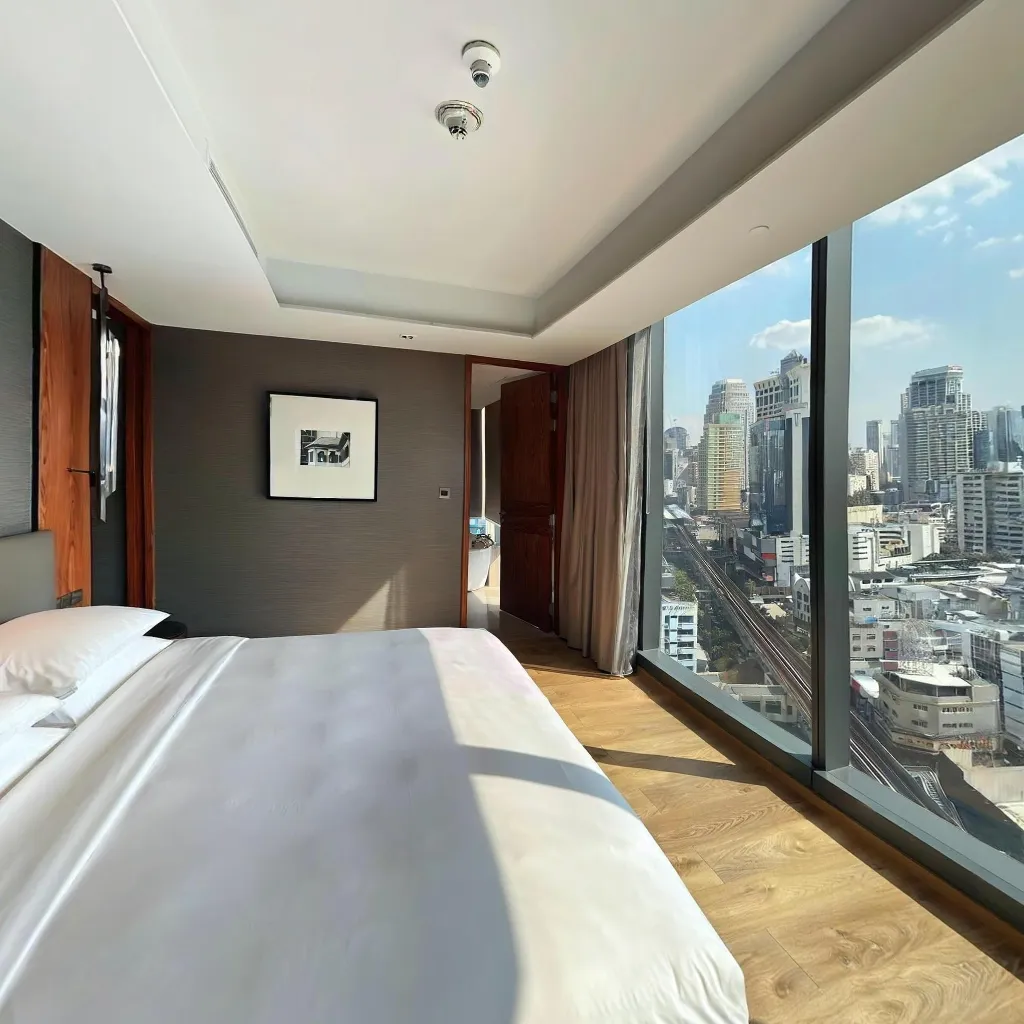
Capture 6–10 rooms per property: entrance hall, living room, kitchen, dining area, master bedroom, secondary bedrooms, main bathroom, and at least one outdoor area. Begin the tour in the most impressive room. Use Travvir's floor plan integration to overlay a simplified floor plan so buyers understand spatial relationships between rooms. Enable branded tour pages to display your agency logo and contact details inside every shared tour.
Airbnb and Short-Term Rentals
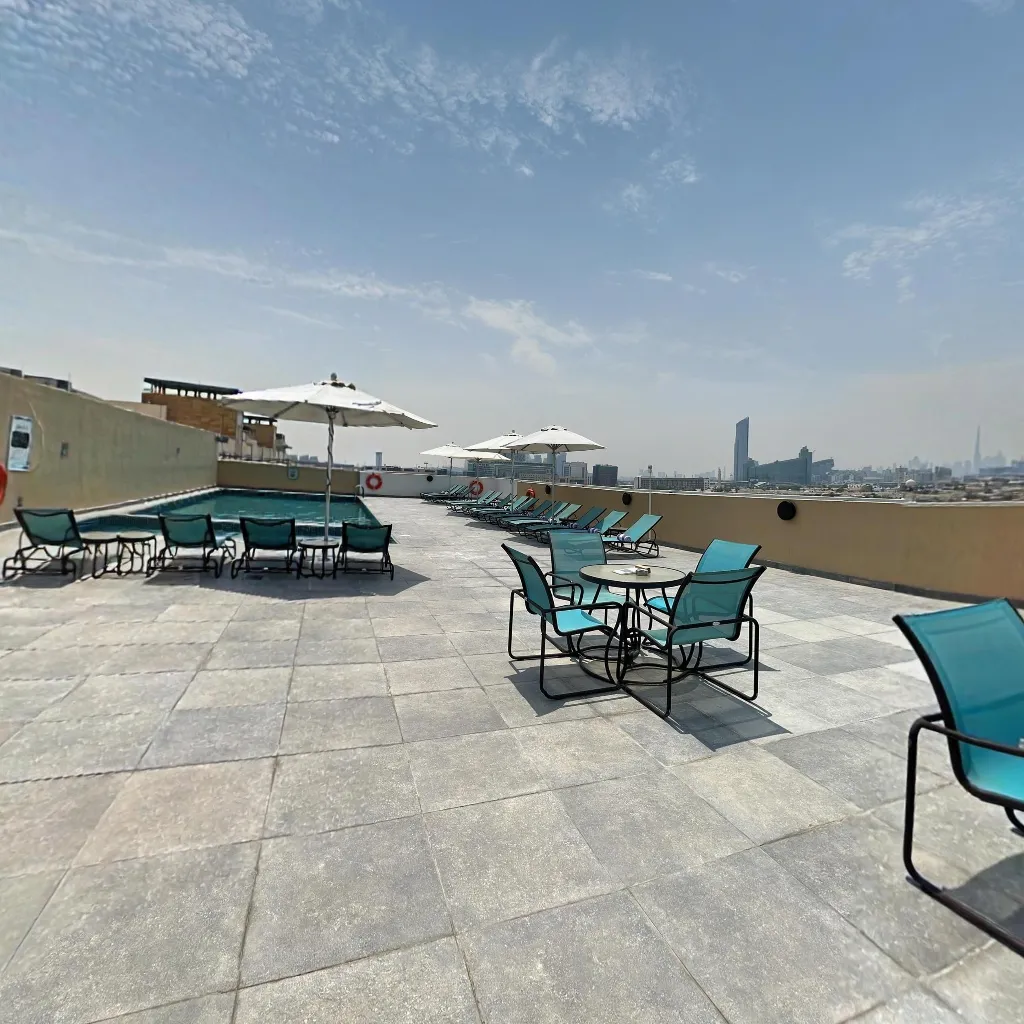
Focus on the spaces guests care about most: the main living area, the bedroom with the best natural light, the kitchen, and the bathroom. Capture outdoor spaces — balconies, terraces, gardens — during golden hour for maximum visual appeal. Use Travvir's info hotspots to annotate appliances, the WiFi password location, check-in instructions, and local area guides directly inside the tour.
Commercial and Retail Spaces
Virtual tours for shops, restaurants, gyms, and offices work best when they show the space during the hours it looks best — usually just before opening or on a quiet afternoon. Ensure all signage, product displays, and brand elements are clearly visible. Use hotspots to link to menus, product pages, or booking forms directly from inside the tour.
Google Business Profile
Travvir's Street View–compatible output allows you to publish your virtual tour directly to your Google Business Profile, making it accessible to anyone searching for your business on Google Maps. Businesses with virtual tours on Google receive significantly more engagement than those without, and the tours remain live indefinitely once published.
How to Make a Virtual Tour with iPhone Without LiDAR
You do not need a Pro model or LiDAR to make a virtual tour with iPhone. Travvir’s AI stitches standard camera frames into a full 360° panorama on iPhone 11 and newer. LiDAR on Pro models can improve depth alignment in complex rooms, but non-Pro iPhones produce listing-ready tours for real estate, Airbnb, and Google Business. If you only have an iPhone SE or older non-Pro device that meets the iOS requirement, follow the same capture steps — stand in the center, rotate slowly, and recapture any room that looks uneven.
Free Apps to Make a Virtual Tour on iPhone
The best free path is Travvir’s free tier: capture, stitch, host, and share without a credit card. Google Street View is free if you only need Photo Spheres on Google Maps. For a full app comparison, see best 360 photo & camera apps for iPhone. For the general free workflow (any phone), use how to create a virtual tour for free.
iPhone Model Compatibility for Virtual Tours
| iPhone model | Works with Travvir | Notes |
|---|---|---|
| iPhone 11 / 12 / 13 | Yes | Excellent for listings and business tours |
| iPhone 12 Pro / 13 Pro / 14 Pro+ | Yes | LiDAR helps in complex interiors |
| iPhone 14 / 15 / 16 (non-Pro) | Yes | Strong low-light and detail |
| iPhone 15 Pro / 16 Pro | Yes | 48MP Fusion + LiDAR — best quality |
Requirement: iOS 15.0 or later. A basic phone tripod is optional but improves stitching in dark rooms.
Frequently Asked Questions
Can I make a virtual tour with iPhone for free?
Yes. Download Travvir from the App Store and use the free tier — capture, AI stitching, hosting, and shareable links with no credit card required.
Do I need LiDAR?
No. Non-Pro iPhones create professional tours. LiDAR is a bonus on Pro models, not a requirement.
How long does it take?
A small home or business tour typically takes under 10–30 minutes once you know the workflow.
Conclusion
Creating professional 360 virtual tours with your iPhone is not only possible but incredibly practical and cost-effective. With AI-powered apps like Travvir, you can produce high-quality virtual tours that rival those created with expensive professional equipment — free, with the camera you already own.
The best part? You can start right now with the device in your pocket. Download the Travvir app, follow this guide, and create your first 360 virtual tour today.
Continue Reading
Related Articles
The Ultimate Guide to Creating Real Estate Virtual Tours with a Smartphone (2026)
Cycloramic Alternative: App Like Cycloramic for Virtual Tours (2026)

How to Create an Immersive Property Tour with Your Phone
Download Travvir & Start Creating