
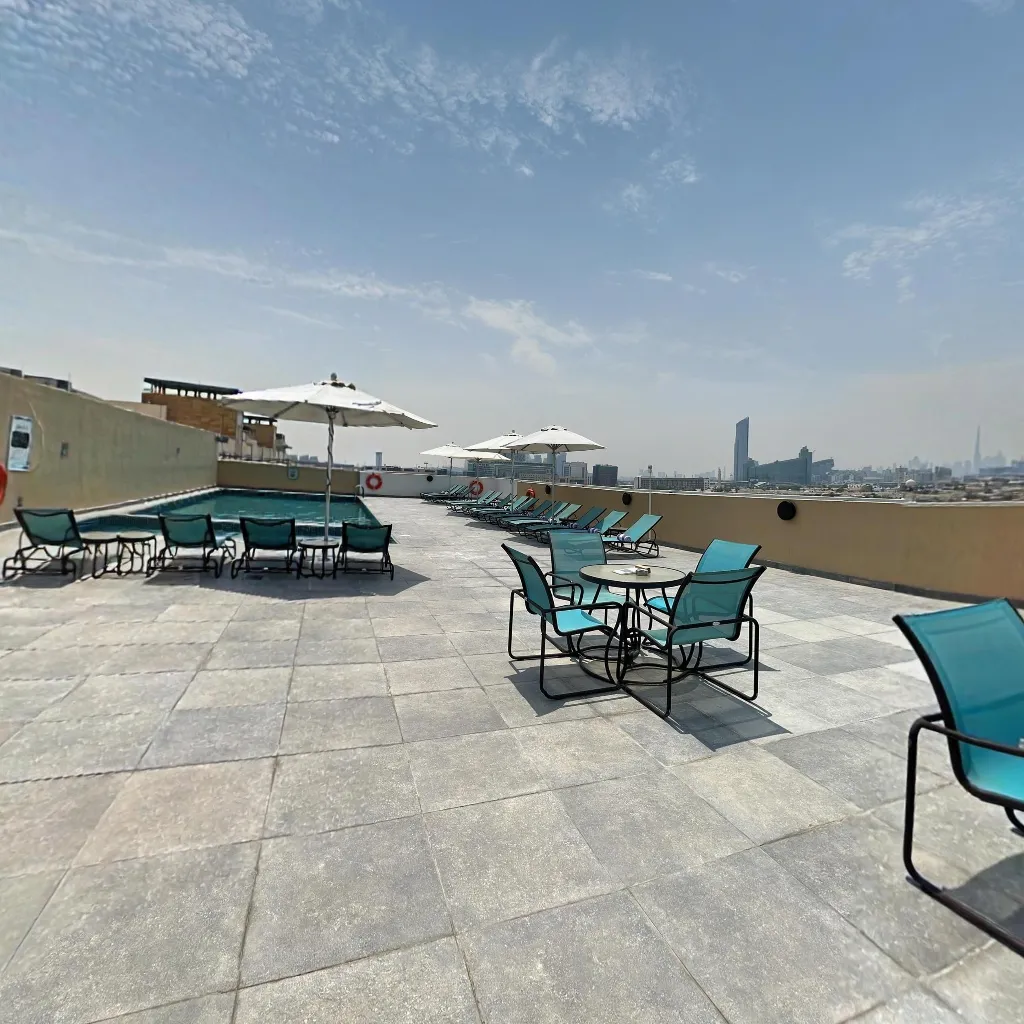
Key Takeaway: In 2026, the cheapest professional real estate virtual tour is a smartphone plus an AI app like Travvir — no 360° camera, no photographer fee, and often under an hour per listing. Capture each room, let AI stitch and link scenes, then publish one link for WhatsApp, your website, and listing portals.
Buyers expect to walk a home before they book a showing. Listings with interactive 360° tours get more views, fewer wasted visits, and faster decisions. The old path — hire a photographer, rent a Matterport-style camera, wait days for delivery — still works for luxury inventory. For most agents, it is too slow and too expensive to use on every listing.
This pillar guide is the complete 2026 playbook for creating real estate virtual tours with only a smartphone. You will learn the cheapest professional workflow, which apps to use, how to shoot for quality, how many scenes a house needs, how to connect rooms with hotspots, which mistakes kill credibility, how AI helps, and how to publish and scale across multiple properties.
What is the cheapest way to create a professional-looking 360 virtual tour with just a smartphone?
The cheapest professional path is a modern smartphone, free or low-cost AI tour software (such as Travvir), and a repeatable room-by-room capture workflow — total cash cost can be $0 per listing if you already own the phone.
Professional-looking no longer means “shot on a $3,000 camera.” It means clean lighting, full room coverage, smooth navigation between spaces, and a shareable link that works on mobile. Smartphone sensors on recent iPhones and Android flagships already deliver enough resolution for listing portals and buyer phones. AI stitching replaces the manual panorama software that used to require a desktop and a specialist.
Compare cost stacks. A pro 3D scan service often runs $200–$500+ per property, plus scheduling delays. A dedicated 360 camera adds $300–$5,000 upfront and still needs software. A phone-first workflow uses gear you already carry. Your real costs are time (usually 20–45 minutes for a typical home) and optional extras like a $20 phone tripod. That is why agents who tour every listing — not only luxury ones — standardize on smartphone capture.
To keep results “professional,” treat the shoot like a mini production: stage the home, turn on lights, shoot from the center of each room, and publish only after you click through the tour once. Travvir is built for this stack — guided phone capture, AI stitching, hosting, and embed — so you are not paying for hardware you will use twice a year.
Which free or low-cost apps can turn phone photos into an interactive 360 tour? (Highlight Travvir).
Travvir is the strongest free-trial / low-cost option for turning phone photos into a full interactive multi-room tour; Google Street View is free for Maps/Business photos; Kuula and similar tools work if you already have 360 images but are weaker for phone-only capture.
Not every “360 app” creates a real estate tour. Some only save a single panorama. Agents need multi-room linking, a shareable URL, and embed code for websites and portals. Here is how the main low-cost options compare in 2026:
- Travvir — AI-guided smartphone capture, automatic stitching, multi-room tours, hosted link, and iframe embed. Travvir offers a free trial for create-and-share; paid plans add branding and analytics. Best all-in-one for agents who shoot on site.
- Google Street View — Free Photo Spheres for Google Maps and Google Business Profile. Excellent for local SEO; not a full private listing tour you can embed on MLS or your site.
- Kuula (free tier) — Browser editor for existing 360 files. Limited free tours and branding on embeds. Better for photographers who already shoot with a 360 camera.
- Zillow 3D Home — Free, but Zillow-only. Great for the 3D badge on Zillow; cannot export for your website or other portals.
If your goal is one tour that works on WhatsApp, your agency site, and listing portals, Travvir is the practical default. Capture and publish from the phone without buying a camera or learning desktop panorama software. Use Street View as a supplement when you also want Maps visibility, and Zillow 3D Home only when you need the Zillow badge.
For a broader tool comparison, see our virtual tour creator guide and best virtual tour software for real estate.
How can I make a tour look high quality without using a dedicated 360 camera?
High quality comes from staging, even lighting, center-of-room capture, steady rotation, and AI stitching — not from owning a dedicated 360 camera.
Dedicated 360 cameras help with one-shot capture and consistent optics. They do not automatically fix clutter, dark corners, or missing rooms. Buyers judge tours on clarity, brightness, and whether they can understand the layout. A well-shot phone tour routinely beats a rushed pro scan of a messy, dark house.
Focus on four quality levers. First, stage: remove personal photos, clear counters, hide trash and pet items, and straighten furniture so rooms read as spacious. Second, light: open blinds, turn on every fixture, and shoot during daylight when possible. Third, position: stand in the center of the room at chest height so walls and doorways are balanced. Fourth, process: use AI that balances exposure across frames and removes obvious stitch errors — Travvir’s pipeline is designed for this phone-first quality bar.
Optional upgrades that still cost little: a mini tripod for dark interiors, a quick wipe of the lens, and one recapture of any room that looks uneven in preview. Skip HDR gimmicks that create unnatural colors. Natural, bright, and complete coverage always looks more “pro” than over-processed panoramas.
What kind of phone settings, lighting, and shooting tips will improve the final result?
Use the rear camera, clean the lens, maximize even light, stand still in the room center, and rotate slowly while following the app’s capture guides.
Phone settings matter less than technique, but a few defaults help. Shoot with the main rear camera (not ultra-wide unless the app requests it). Keep HDR on if your phone handles interiors well; turn it off if colors look fake. Avoid digital zoom. Lock exposure if your app allows it when a bright window sits next to a dark corner — or let Travvir’s guided capture and AI balance frames for you.
Lighting checklist before you open the app:
- Open all blinds and curtains facing usable daylight.
- Turn on overhead lights, lamps, and under-cabinet lights.
- Replace burned-out bulbs so color temperature is consistent.
- Avoid mixed extreme contrast (one lamp in a black room).
- Shoot exteriors and yards in soft daylight, not harsh noon glare when possible.
Shooting tips that separate amateur from listing-ready: hold the phone at chest-to-eye height, keep it vertical as the app instructs, rotate with your feet (not by swinging your arms), pause briefly at each prompt, and keep people and pets out of frame. In bathrooms and closets, step back enough to include fixtures without standing in a doorway that blocks the sphere. If a room has a large mirror, angle slightly so your reflection is minimized — AI can help, but good positioning is faster.
How many photos or scenes do I need to cover a typical house effectively?
A typical 3-bedroom house needs about 8–14 scenes (one primary capture position per major room, plus entry, hall, and outdoor areas) — not hundreds of still photos.
Think in scenes, not in “photos.” Each scene is a full 360° viewpoint. Inside one scene, the app may capture many frames that AI stitches into a single panorama. You do not manually shoot 200 listing photos; you place yourself in each important space once (or twice for very large great rooms).
A practical coverage map for a standard single-family home:
- Exterior front / curb appeal (1)
- Entry or foyer (1)
- Living room / great room (1–2)
- Kitchen (1)
- Dining area (1, or combine with kitchen if open plan)
- Primary bedroom (1)
- Secondary bedrooms (1 each)
- Primary bath and main bath (1 each)
- Hallway or stair landing if it clarifies layout (1)
- Garage, basement, laundry if they sell the home (as needed)
- Backyard / patio (1)
Condos and small apartments often need 5–8 scenes. Large luxury homes may need 15–25. More is not always better — extra scenes in empty corners slow viewers. Prioritize rooms buyers decide on: kitchen, primary suite, living areas, and outdoor space. Travvir’s guided capture tells you when a scene has enough frames, so you focus on which rooms to include, not how many stills to take.
How do I connect rooms with hotspots so the tour feels smooth and easy to navigate?
Place hotspots on doors and clear transitions, use short room labels, and link only paths a buyer would actually walk so navigation feels natural.
Hotspots are the clickable arrows or icons that move a viewer from one 360 scene to another. Bad hotspot placement is the #1 reason budget tours feel “cheap.” If arrows float in the middle of a wall or jump from kitchen to bedroom without a hall, buyers get lost and leave.
Smooth navigation rules:
- Put hotspots on doorways, arches, and stair openings — not blank walls.
- Label simply: “Kitchen,” “Primary bedroom,” “Backyard.”
- Start the tour in the most impressive public room or the entry.
- Link rooms in walking order (entry → living → kitchen → hall → bedrooms).
- Add a return path so viewers are never stuck in a dead-end scene.
- Skip hotspots into tiny closets unless storage is a selling point.
In Travvir, you capture rooms, then add or confirm links between them before publish. Click through the full path on your phone as a buyer would. If any jump feels confusing, move the hotspot or rename the label. A smooth tour feels like walking the house — that is what converts browsers into showing requests.
What mistakes make a budget virtual tour look unprofessional, and how do I avoid them?
Unprofessional tours usually fail from poor lighting, clutter, missing rooms, blurry capture, confusing hotspots, or broken publish links — all avoidable with a short checklist.
Common mistakes and fixes:
- Dark, yellow rooms — Turn on all lights and open blinds; recapture rather than “fixing it in post.”
- Clutter and personal items — Stage before you shoot; buyers fixate on mess in 360 because they can look everywhere.
- Missing kitchen or primary suite — Never skip decision rooms to save time.
- Motion blur — Rotate slower; use a tripod in low light.
- Photographer in mirrors — Reposition or recapture.
- Random hotspot jumps — Follow walking order and door placement.
- Watermarks and broken embeds — Use a platform tier that fits client-facing listings; test the link on mobile.
- Outdated tours — Reshoot after major staging or renovation changes.
Run a two-minute QA before you send the link to a seller: open on your phone, walk entry to backyard, check every hotspot, and confirm the tour loads on cellular data. That habit alone separates “budget-looking” from “listing-ready,” even when you spent $0 on hardware.
Which AI tools can help with auto-stitching, cleanup, or floor-plan style navigation?
AI tour platforms like Travvir auto-stitch phone frames, balance exposure, and assemble multi-room navigation; some ecosystems also offer floor-plan style overviews, while pure photo editors only fix single images.
For real estate tours, the AI that matters most sits inside the tour app — not a separate photo filter. Auto-stitching aligns overlapping frames into a seamless 360° scene. Cleanup AI reduces exposure mismatch between bright windows and dark corners and helps hide minor capture flaws. Navigation AI (or simple guided linking) turns separate rooms into one walkthrough.
Travvir’s AI is built for the agent workflow: guided capture so you know when a scene is complete, cloud stitching without desktop software, and tour assembly you can publish in minutes. That is different from general AI image tools that enhance a single still but cannot produce an interactive property tour.
Floor-plan style navigation varies by platform. Some tools overlay a simple plan or dollhouse; classic Matterport-style mesh plans usually need dedicated scanning hardware and cost more. For most listings, clear room-to-room hotspots deliver the layout understanding buyers need. If a client requires a true 3D dollhouse, use a specialist scan for that property — and keep Travvir as your default for speed and cost on the rest of your inventory.
How can I publish the tour on WhatsApp, my website, or listing portals with minimal effort?
Publish once to get a shareable URL and embed code, then paste the link into WhatsApp and portals and drop the iframe on your website — no separate export per channel.
Minimal-effort distribution is the point of cloud-hosted tours. After Travvir processes your scenes:
- WhatsApp / SMS / email — Copy the tour link and send it. Recipients open it in a mobile browser; no app install required for viewers.
- Website — Paste the iframe embed code into an HTML block (WordPress, Wix, Squarespace, custom sites). See how to embed a 360 tour.
- Listing portals / MLS — Paste the URL into the virtual tour or unbranded tour field. Confirm your MLS allows external tour links.
- Social posts — Share the link with a strong still thumbnail of the best room.
Do not rebuild the tour for each channel. One master tour, many placements. If a portal strips embeds, the bare URL still works. For Google Business visibility on your office or a business property, add 360 photos via Street View as a separate local-SEO step — Google Business virtual tour guide.
Always test the published link in an incognito window on your phone before you send it to a seller. That five-second check prevents “the tour doesn’t work” messages during launch day.
What is the best workflow for creating the tour fast enough to use on multiple property listings?
Use a fixed checklist — stage, lights, capture order, AI process, hotspot QA, publish, paste link — so each listing takes about 20–45 minutes and every agent on your team follows the same steps.
Speed at scale is a system, not a talent. Agents who tour every listing use the same order every time so they never invent a new process on site. A proven fast workflow:
- Before arrival (5 min) — Confirm access, ask sellers to declutter, charge your phone, download Travvir, and note the room list.
- On-site prep (5–10 min) — Lights on, blinds open, personal items out of frame, lens clean.
- Capture (10–25 min) — Entry → living → kitchen → beds → baths → outdoor. One scene per major room.
- Process (a few minutes) — Let Travvir AI stitch while you do a final walkthrough of the property or drive to your next stop.
- Link & QA (5 min) — Confirm hotspots, click through once, fix any bad scene with a recapture.
- Publish & distribute (5 min) — Copy link to MLS, website, WhatsApp to the seller, and your CRM notes.
Batch habits that multiply output: keep a “tour kit” in your car (tripod, cloth, portable light for windowless baths), use naming conventions like “123-Main-St-2026-07,” and train every team member on the same checklist. When the workflow is boring and repeatable, you can offer tours on starter homes and rentals — not only premium listings — which is a real competitive edge in 2026.
Travvir supports that volume model because there is no camera logistics and no per-property photographer invoice. Capture on the phone you already carry, publish from the same app, and move to the next listing.
Conclusion
Creating real estate virtual tours with a smartphone is no longer a compromise — it is the default professional workflow for agents who need speed, consistency, and low cost across every listing. Stage the home, light it well, capture each key room, let AI stitch and link scenes, then publish one link everywhere buyers look.
Start with Travvir on your next listing: download the app, follow the guided capture, and ship a tour the same day. Pair this pillar guide with our step-by-step real estate tour tutorial and how to add a tour to your listing when you are ready to operationalize the workflow for your whole team.
Continue Reading
Download Travvir & Start Creating